Guides
Seattle moisture and mold inspections compared with Denver snow load checks
Seattle moisture and mold inspections follow persistent rain and damp air, while Denver snow load checks track roof weight, ice damming and attic ventilation.
What to take away
- A moisture and mold inspection Seattle job follows waterwind driven rain, crawlspace vapor and plumbing leaks that never dry out.
- A Denver job follows weightroof snow load evidence, ice damming at the eaves and attic ventilation that keeps the roof deck cold.
- Pin and pinless meters from Delmhorst, Protimeter and Tramex cover most field readings. A pin meter typically sells for $100 to $400, a pinless unit for $150 to $600.
- Attic ventilation inspection sits on both checklists for opposite reasons: drying in Seattle, cold deck control in Denver.
- Washington licenses home inspectors under RCW 18.280. Colorado has no statewide license, so city rules and your E&O carrier set the floor.
- One report template serves both markets when the climate branch is chosen at intake, before the inspector leaves the office.
- Typical single-family fees run $400 to $700 in Seattle and $350 to $600 in Denver, set by square footage, crawlspace access and return visits.
How wet-climate and high-altitude inspections diverge
Seattle sits in a marine climate. Rain falls often, falls lightly and evaporates slowly. Denver sits a mile up, where snow is dry and the sun strips a roof by afternoon.
The wet market asks where water entered and whether it ever left. The cold market asks how much weight sits on the roof and whether meltwater refreezes at the edge.
Both questions end in the same place: a report the client can act on.
ASHI, InterNACHI and NAHI publish standards of practice that treat moisture intrusion and roof structure as core items. ASHI's Standard of Practice gives roofing, and insulation and ventilation, their own sections.
Washington licenses home inspectors under RCW 18.280 and requires continuing education at renewal. Colorado has no statewide inspector license, so city rules, franchise agreements and insurers set the floor. Your field procedure has to clear that floor in each state.
Start at the site. A Seattle crawlspace with a dirt floor and no vapor barrier reads differently from a Denver basement dug into clay. One needs drying capacity and a vapor barrier. The other needs a radon test plan before anyone spends time below grade.
Radon is the quiet item in the Denver column. EPA radon guidance treats radon as a soil gas problem, common in mountain states where basements and slab-on-grade floors are standard. EPA maps most Denver metro counties as Zone 1, its highest potential label.
Puget Sound counties sit mostly in Zones 2 and 3. Follow the EPA guidance in your report language whenever you test lower levels. A short-term charcoal kit costs about $15 to $30 at retail. A continuous monitor test run by a measurement professional typically runs $150 to $300.
Seattle inspectors rarely sell radon as the headline. They sell moisture. That difference shapes the intake call, the equipment bag and the fee schedule more than any single finding.
Scheduling differs too. A Seattle inspection in November may need two visits to confirm a wall dried. A Denver inspection in February may need a return trip after a snow event to see the roof bare. Return visits typically add $75 to $150 to the invoice.
Neither market rewards a rushed walkthrough. Both reward a consistent, documented method, the same discipline behind service quality in any climate.
Moisture meters, thermal imaging and attic ventilation in Seattle
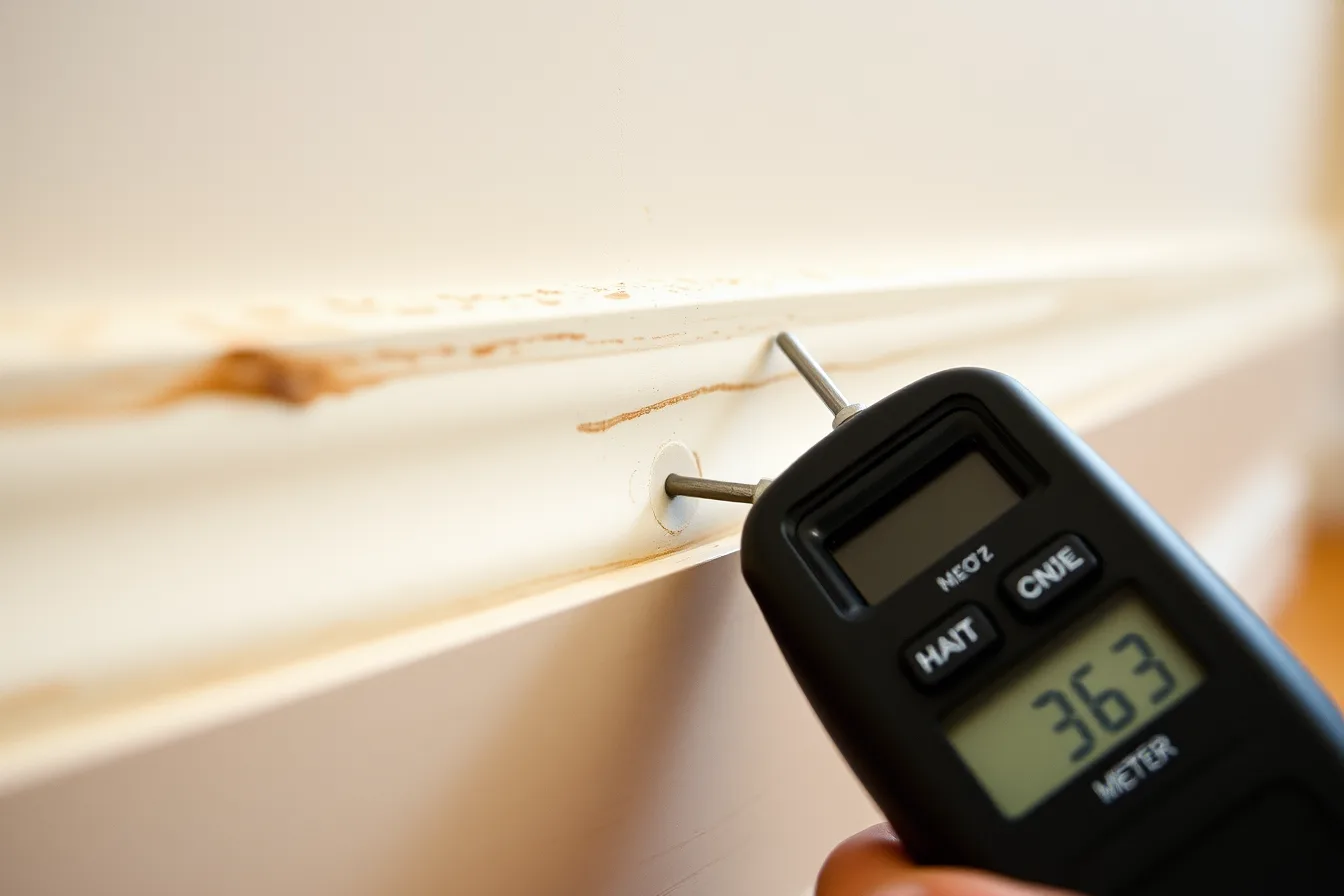
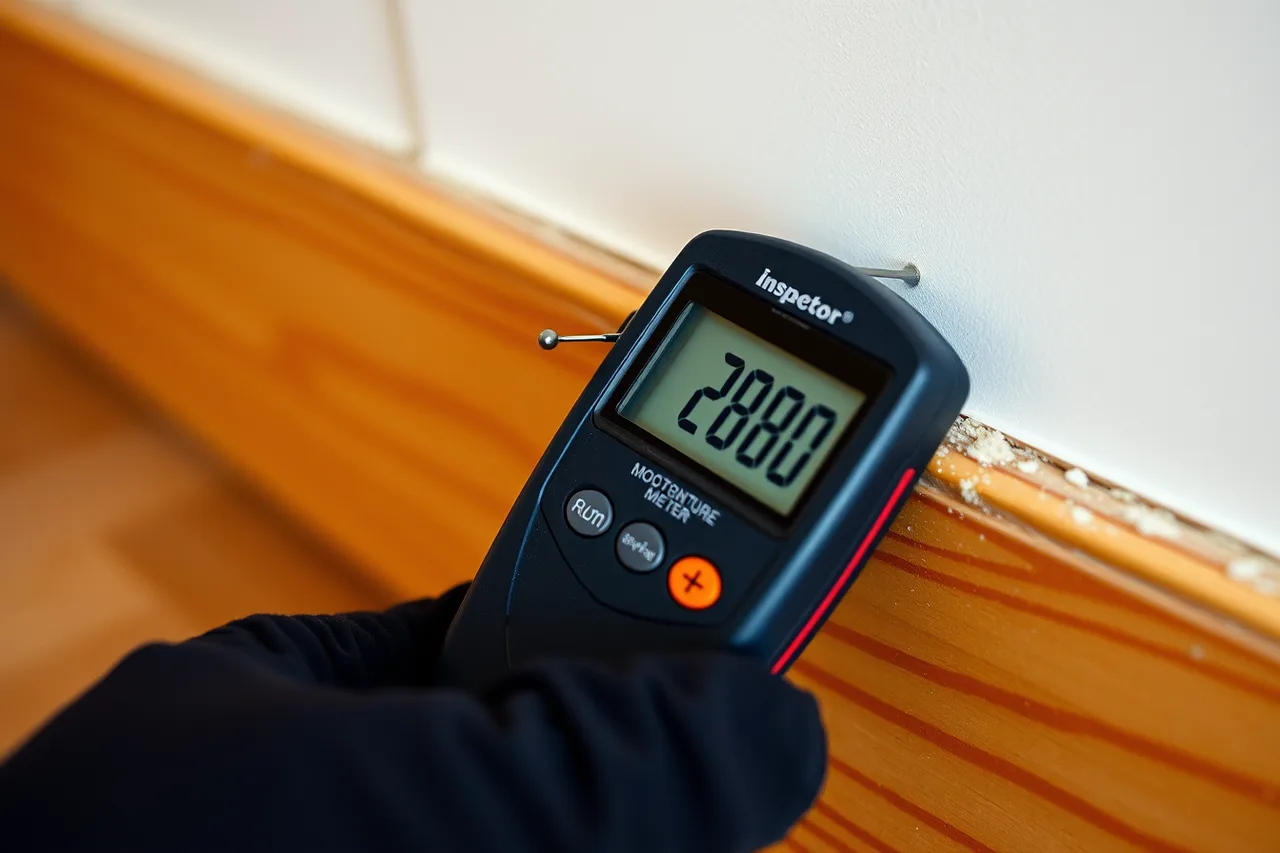
Moisture meter use is the backbone of a Seattle inspection. Pin meters confirm readings at baseboards, rim joists, window frames and around tubs. Pinless meters scan a wider area before you commit to a hole. The Delmhorst BD-2100 and the Protimeter Surveymaster combine both modes, and the Tramex Moisture Encounter is pinless only.
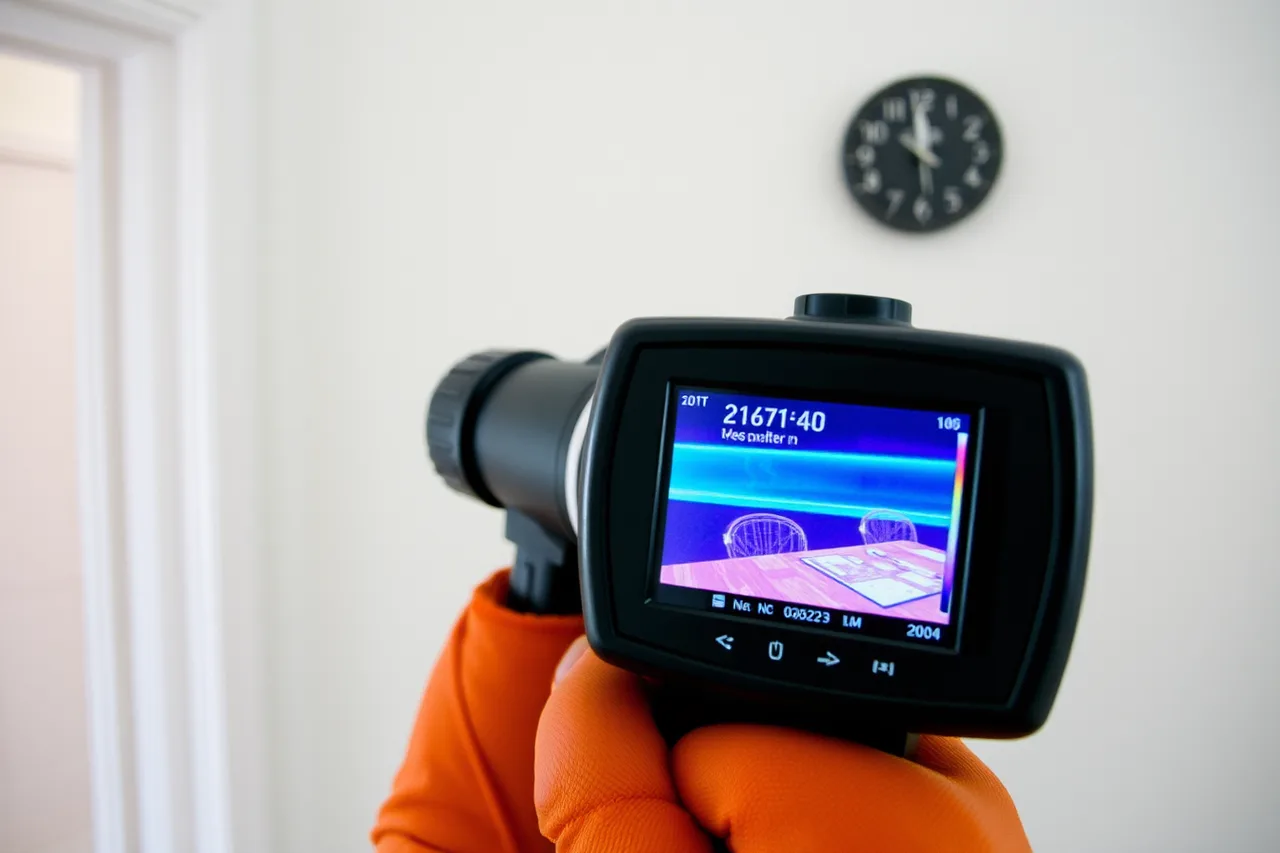
Thermal imaging often comes first. A cool band on an interior wall after a rain suggests water behind the finish, and the meter then confirms it. Neither tool is proof alone; together they justify a recommendation.
Camera cost belongs in your equipment budget. A compact unit such as the FLIR C5 typically sells for $500 to $1,100. The phone-mounted FLIR One Edge typically runs $400 to $600.
Take readings at the same height and the same distance from the corner each time. Record the number, the substrate and the meter mode. A reading without a location is a number the client cannot use.
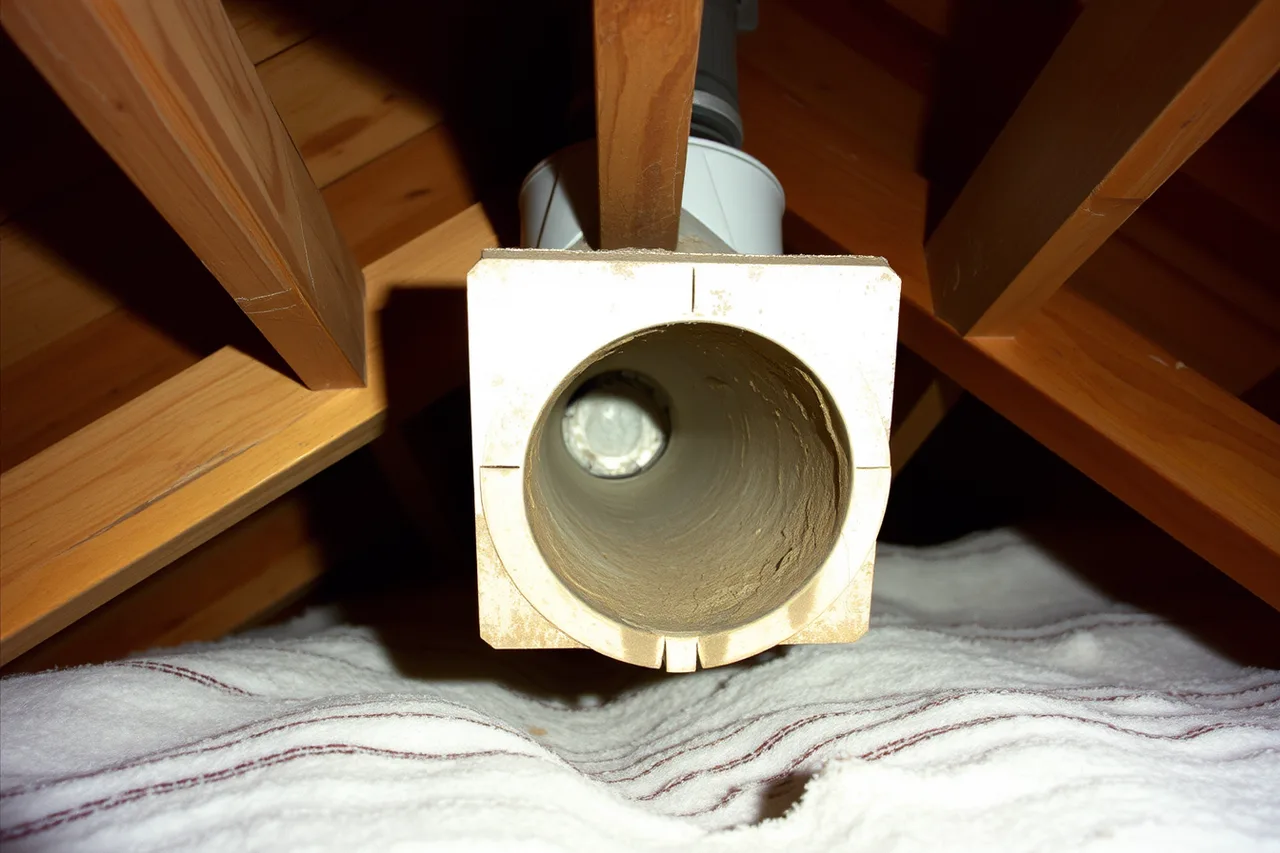
Attic ventilation inspection matters in Seattle because a wet attic stays wet. Look for bath fans venting into the attic, blocked soffit vents and insulation pushed into the eave. Each one traps vapor where it condenses on cold sheathing.
Check the roof underside on a rainy day when it is safe to do so. Dark sheathing, rusted nail heads and stained truss plates record a ventilation problem that has run for years.
Crawlspaces need their own pass. Standing water, efflorescence, sagging insulation and musty odor all belong in the report with a photograph and a meter reading. Never describe a smell without a location.
A 6-mil vapor barrier install typically runs $1,500 to $4,000 in Puget Sound, driven by square footage, access and floor prep. Quote it as a repair option, separate from the inspection fee.
Gutters and downspouts are part of the moisture envelope. A downspout discharging at the foundation feeds the crawlspace you just dried on paper. Note the discharge point, not just the gutter condition.
Separate observed conditions from causes in the writing. "Elevated reading at the north rim joist" is an observation. "Likely from failed window flashing" is a hypothesis. Label them differently.
A written method keeps two inspectors on the same job producing comparable reports. That is the point of documented service standards, not paperwork for its own sake. The return visit is a billable service line, priced and named in your fee schedule.
Mold guidance and reporting language for the Pacific Northwest
Mold is a moisture problem with a visible symptom. EPA mold guidance tells owners to fix the water source first, then clean or remove affected material, and to treat areas larger than about 10 square feet as a containment job rather than a wipe-down.
That order matters in the report and on the invoice. Recommend a mold test before the leak is fixed and you have sold the client a number that changes next week.
Use plain language. Say where the mold is, how much area it covers and what material it sits on. Avoid species claims unless a laboratory report supports them.
Do not call yourself a mold assessor unless your state credential allows it. Florida and Texas license mold assessors; Washington does not. Scope language in the contract carries the weight, and your E&O carrier reads that language after a complaint.
Recommend a qualified remediation contractor when the affected area is more than a small patch, when HVAC equipment is involved, or when occupants report symptoms. Keep the recommendation general and let the client choose.
Lab analysis of a surface or air sample typically costs $50 to $100 per sample. A full mold assessment on a house typically runs $300 to $800, priced by the area affected and the number of samples.
Photograph everything before anyone cleans. A wide shot for location, a mid shot for extent, a close shot for texture. Three photos per affected area is a workable rule.
Record what you did not inspect. Sealed wall cavities, occupied rooms and areas behind stored goods are limits, not failures. State them.
Northwest homes also carry a winter habit: windows shut for months, interior moisture rising, no mechanical fresh air. Note the absence of a bath fan timer or heat recovery ventilator where you see chronic condensation.
A consistent report structure is what makes mold findings comparable over time. That structure is a daily SOPs question, not a writing talent question.
Roof snow load evidence and ice damming in Denver
Denver inspections turn on the roof. Snow load is a design value set by code, and your job is not to calculate it. Collect roof snow load evidence instead: what is on the roof, how it is distributed, what the structure shows.
Front Range ground snow loads typically land between 25 and 30 pounds per square foot in the adopted code. ASCE 7 is the reference standard behind that figure. Report the evidence and leave the arithmetic to an engineer.
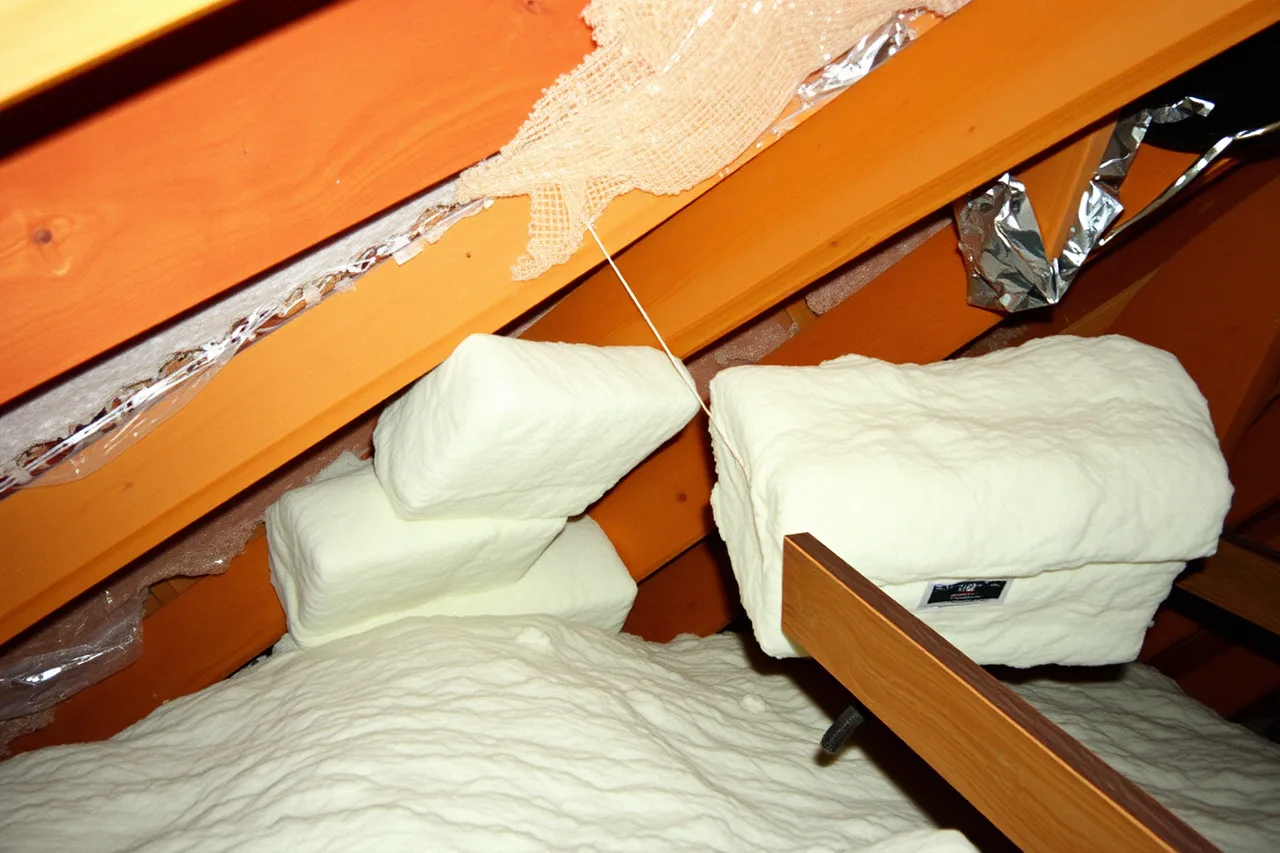
Look for drift against a valley, a dormer or a chimney. Wind moves snow into piles that weigh far more than an even layer. A drift line is evidence worth photographing.
Ice damming leaves a signature. Ice at the eave, a ridge of snow above it and staining on the ceiling below tell one story: heat escaping into the attic, meltwater refreezing at the cold edge, water backing under the shingles.
Attic ventilation inspection in Denver is heat control. The goal is a cold roof deck in winter. Bath fans, can lights and unsealed attic hatches all dump warm air into the attic and feed the dam.
Check insulation depth and coverage against the joists. Check that baffles keep insulation out of the soffit. Check that ridge and soffit vents are both open, because one without the other moves little air.
IRC R806.2 asks for 1 square foot of net free vent area per 150 square feet of attic floor. That ratio relaxes to 1 per 300 when a Class I or II vapor retarder sits on the warm side.
Structural evidence matters after a heavy season. Sagging roof lines, cracked drywall at ceiling corners and doors that stick in winter are worth noting, with the caveat that you report symptoms rather than engineer a fix.
Hail is the other Denver item. A roof that has lost granules, has bruised shingles or has dented vents has a documented condition the insurer will want. Photograph it with a size reference in the same frame.
Most carriers treat hail of about 1 inch or larger as the threshold for a shingle damage claim. NOAA Storm Prediction Center records give you the storm date to cite in the report.
Altitude changes materials. UV at elevation ages sealants, caulk and roofing faster than the same product at sea level, a durability question that NIST building materials research addresses for wet and cold climates alike.
Roof access is a judgment call. A steep, snow covered roof is a ladder and camera job from the ground, with a note about the limits. OSHA fall protection rules at 29 CFR 1926.501 apply to your own crew, not to the client's roof.
Every roof finding should carry a next step: monitor, repair, or refer to a licensed roofer or engineer. A finding without a next step is trivia. A finding with one is a business package item the client will pay for.
Comparing moisture and mold inspection Seattle findings with Denver checks
The two markets share a vocabulary and almost nothing else. Seattle findings cluster at the building envelope: walls, windows, crawlspaces, roofs that leak. Denver findings cluster at the roof structure and attic: snow, ice, heat loss, hail.
Moisture meter readings in Seattle are usually taken on interior finishes and framing. In Denver they are often taken after a melt event, to confirm that ice damming reached the ceiling below.
Mold language appears in both, for different reasons. Seattle mold follows chronic damp. Denver mold often follows a single freeze-thaw event that soaked a ceiling and dried unevenly.
Comparing Seattle findings with Denver checks
Seattle, WA
- Primary driver
- Rain and chronic damp
- Key tool
- Moisture meter, thermal camera
- Attic focus
- Vapor control, bath fan discharge
- Roof evidence
- Leak staining, failed flashing
- Lower level
- Crawlspace vapor barrier
- Report emphasis
- Where water entered, drying plan
- Typical single-family fee
- $400 to $700
- Radon risk label
- EPA Zone 2 and 3 counties
- License
- RCW 18.280, state license
- Common add-on
- Crawlspace liner, $1,500 to $4,000
Denver, CO
- Primary driver
- Snow load and freeze-thaw
- Key tool
- Roof inspection, attic access
- Attic focus
- Cold deck, insulation baffles
- Roof evidence
- Drift lines, ice at the eave
- Lower level
- Basement, radon test plan
- Report emphasis
- What the roof carries, melt path
- Typical single-family fee
- $350 to $600
- Radon risk label
- EPA Zone 1 counties
- License
- No statewide license
- Common add-on
- Radon test, $150 to $300
Neither column is a better inspection. They are different questions asked of the same house.
An inspector who moves between the two markets needs a template that prompts for both, then trims to the climate zone. That is an operations and workflow decision made once, not a rewrite on every job.
Bill by time and travel, not by the market label. A Seattle crawlspace job with a return visit can consume more hours than a Denver condo with a shared roof.
NOAA climate data behind each regional checklist
Climate data is why the two checklists differ. NOAA climate information gives inspectors the long record: normal precipitation, snow totals, freeze dates and temperature swings for a metro area.
Seattle averages roughly 37 to 39 inches of precipitation a year, spread across many months. Hard freezes are short and the ground stays damp. That pattern supports a checklist built around drainage, ventilation and drying time.
Denver averages about 56 inches of snow and roughly 16 inches of precipitation a year, with wide swings between storm totals. Day-to-night temperature swings of 25 degrees or more are ordinary. That pattern supports a checklist built around roof load, melt and refreeze.
Use NOAA weather resources when you plan the week. A storm forecast changes what you pack and when you schedule the roof portion of a job.
Pull the local normals before you write a template for a new market. If the area gets forty inches of snow a season, a template without a roof load section is incomplete.
Climate also drives what you tell the client to watch. In Seattle, the first dry week after a wet spell is when hidden leaks show as stains. In Denver, the first warm day after a snow is when ice damming shows as ceiling drips.
Keep the data source in the file. A report that cites regional normals for snow and rain is harder to argue with than one that asserts a condition without context.
Building a two-market inspection playbook
A playbook is a set of decisions made in advance so field work stays consistent. Two markets need two branches, one template and one training standard.
- Set the climate branch at intake. Ask for the address, then load the Seattle or Denver checklist before the inspector leaves the office.
- Pack by branch. Seattle bagpin and pinless meters, thermal camera, moisture-safe ladder kit. Denver bag: roof camera, binoculars, attic PPE, snow-safe access gear.
- Run the shared core first. Structure, electrical, plumbing, heating and cooling, then the climate section. The core keeps reports comparable across markets.
- Record numbers with locations. Every meter reading gets a room, a height and a substrate. Every roof photo gets a direction and a reference object.
- Write findings with a next step. Repair, monitor, or refer to a licensed trade. No finding leaves the report without one.
- Review before delivery. A second reader checks that the climate branch was used and that limits are stated.
Work the checklist on every job until it is habit.
- Climate branch selected at intake
- Moisture meter readings logged with location and substrate
- Attic ventilation inspectedintake, exhaust, bath fan discharge
- Roof snow load evidence photographed where snow is present
- Ice damming signs checked at eaves and on ceilings below
- Lower level checked for radon test recommendation
- Report limits and next steps written for each finding
Two markets also mean two fee structures. A Seattle job with a crawlspace and a return visit costs more time than a Denver condo with a shared roof. Price the time, not the postcode.
Report and scheduling software such as Spectora, HomeGauge and ISN typically runs $80 to $200 a month per inspector, billed annually. That line item belongs in the overhead you recover on every job.
Train the branch, not the city. An inspector who understands why Seattle checks vapor and Denver checks drift can work either market without a script.
Keep one report format with a climate header. Clients in both states read the same document, and your office reviews one file type.
Review the playbook each year against the climate record and against your own claim history. The market that generates callbacks tells you which branch needs work.
Common questions
Do I need a different license to inspect in Seattle and Denver?
Washington licenses home inspectors through a state board under RCW 18.280. Colorado has no statewide inspector license, so city rules and insurers set the local floor. Check both before you advertise. Your ASHI, InterNACHI or NAHI standards of practice travel with you, but the legal floor does not.
Can one moisture meter serve both markets?
Yes. A pin meter and a pinless meter cover most Seattle work, and the pin meter still confirms a Denver ceiling stain after ice damming. Add a thermal camera for wall scanning in wet climates. The two-meter kit typically costs $250 to $900.
When should I recommend a mold assessment rather than just reporting moisture?
When there is visible growth over a large area, when HVAC equipment is affected, or when occupants report symptoms. EPA guidance puts the water source fix first, so report the moisture and recommend assessment in parallel. A full assessment typically runs $300 to $800.
How do I report snow load without engineering the roof?
Describe what you see: drift location, depth estimate, staining, any interior symptom. Recommend a licensed structural professional when symptoms suggest movement, and leave the load calculation to them.
Does radon belong in a Seattle report?
It can, though the regional risk profile differs from the mountain states. EPA radon guidance applies wherever you test lower levels, and the test is inexpensive relative to the cost of a surprise. Short-term kits run about $15 to $30. A professional monitor test typically runs $150 to $300.